Sunday, 6 January 2013

Exercise 33 Tungsten and fluorescent lighting

For this exercise I had to light the room brightly with tungsten lighting and then wait until dusk taking 3 pictures with  the interior and the dusk of the exterior both in the shots at different WB settings. when looking out of the window and then back indoors the light was more orange until my eyes adjusted back, I took some meter readings in the room while waiting at 100 ISO I would need a tripod to shoot, the light was very uneven at different parts of the room.

Here are the pictures

AWB
This is the closest both inside and out


Daylight
This is by far the most orange of the 3 pictures

Tungston

In this photo it looks a lot colder and the outside very blue

Second part of exercise

Under florescent light as I don't have any lights that are florescent I went down to our local pub and the landlady kindly let me take a couple of pictures in her kitchen

Auto


Florescent


Auto


Florescent


The pictures that I have taken using the florescent setting are slightly more warm

Exercise 32 Cloudy weather and rain

This is a 3 part exercise for the first part I need to photo 3 subjects in both sunny and shady conditions

Photo 1


Sunny Settings: 1/160ƒ/8ISO 10050 mm
Shady Settings: 0.4ƒ/8ISO 10050 mm
Photo2

Sunny
Shady

Photo3

Sunny


Shady

Here is a photo that was taken on a cloudy day I think that it looks very atmospheric with the background and adding sunlight would detract from this


For the second part of this exercise I need to take 3 photos on an overcast day 

Photo1 showing colour


photo2


photo3


Third part of exercise rain

photo1


This is an old piece of glass in the garden with rain on it 

Rain drops on a tree

Friday, 4 January 2013

Exercise 31 Variety with a low sun

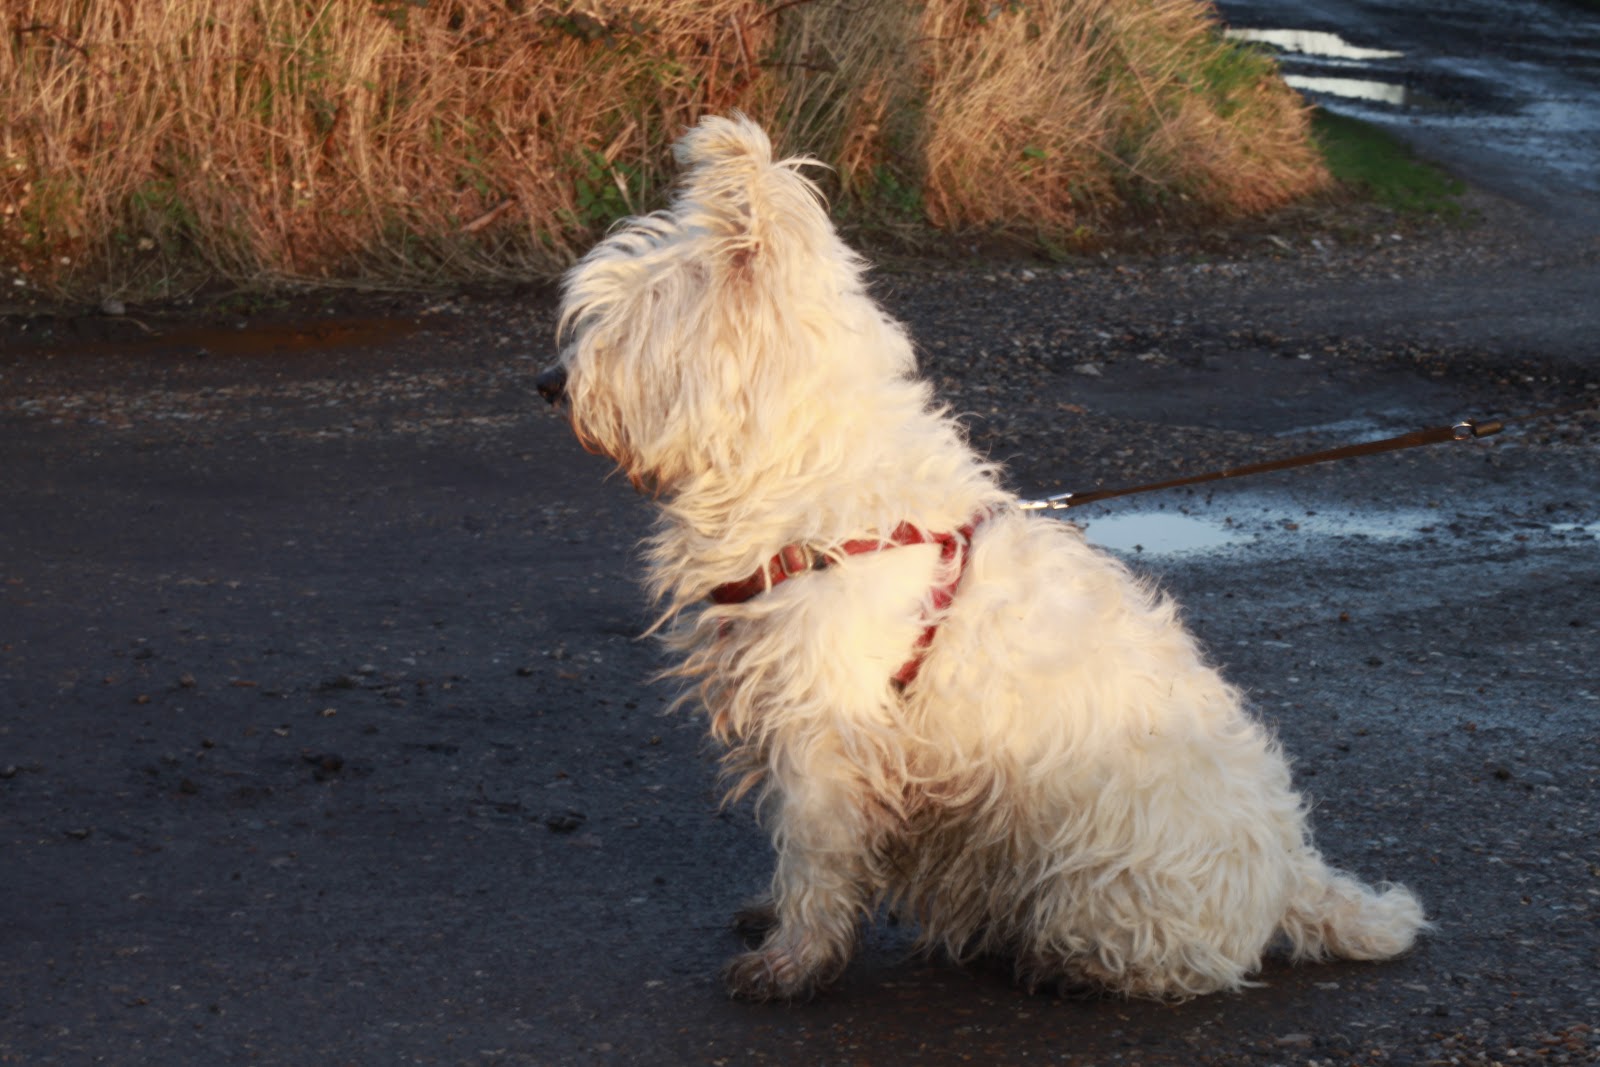
For this exercise I had to shoot when the sun was low a couple of hours before sunset was good for this, and then to look at the advantages of shooting at this time. I used millie my dog as a model but found that she soon got fed up of posing after spotting another dog

1st picture showing frontal lighting where the sun was behind the camera

unfortunately millie fed up of looking at the camera by now but you can see how nicely her coat is lit by the sun

Side lighting

This photo was taken with the sun to the left side of Millie

Back lighting

I took this picture by shooting towards the sun

Edge lighting

By now Millie was struggling to stand and pose but you can just see the egde lighting on her ear neck and going down front

Exercise 29 Judging colour temperature 2

For this exercise I need to take another 3 photos but vary the white balance on each with an auto shade and daylight and compare the 3


Photo 1 taken in shade

Daylight


Auto

Shade

In this first photo I find the auto picture to be way to cold, The shade picture has turned out to warm with the daylight photo being the best setting.


Photo2 taken in the sun

Daylight


Auto


Shade

In this photo I still find the auto to be cold though not as much as in the last picture, the photo in shade is even warmer than before and the daylight again comes out best though I would probably lighten it a bit


Photo 3 with the sun low to the horizon

Daylight


Auto


Shade

In this photo at Hunstanton cliffs the warmness of the sun is on the cliffs giving them a golden glow, for the overall photo I prefer the daylight photo as it shows a good range of colour throughout the picture with a crispness, The auto picture still shows the cliffs as being nice and golden the sky is darker with a darker foreground. The shade photo starts to show the cliffs as being a bit too over saturated in colour but the foreground stands out a lot better than the auto and a duller sky to it.


Exercise 28 Judging colour temperature 1

In this exercise I need to find someone to take pictures of in different lighting conditions, 1 in full sunlight in the middle of the day, 1 in shade middle of the day and 1 in sunlight when the sun is close to the horizon

To start with I could only get the dog to pose for me and she soon got fed up with this so the first 2 pictures are of the dog and then I had to set about finding another model.


Shade


Sunlight

These 2 pictures show a real difference between the shade that looks quite dull and the orange that brightens up the sunlight


Shade This photo was taken on a sunny day with Kate shaded under a canopy, though it does not have as cold a look that I have shown with the picture of the dog in open shade which is still cooler in colour, the light is nice and even though


Sunlight in the midday
For this picture I got Kate to sit out in the sun, the light is very harsh on Katie's face creating an uneven tone and the colour shows a whiter cast.

Sunlight close to the horizon
It was later in the day now and Kate was getting tired so I found another couple of models, the light is now softer with the colour warmer


Thursday, 3 January 2013

Exercise 27 Higher and lower sensitivity

For this exercise I have to take a serious of pictures at low and higher sensitivity altering the iso setting
the pictures where taken on quite a dull day so there was nobody around apart from in the highstreet where I took the shots.

First set of pictures

100 ISO
At 100 ISO this picture was difficult to take hand held on such a dull day, the more that it is enlarged the more that you notice the camera shake and it would need to be taken using a tripod at this ISO


400 ISO
At 400 ISO this photo is much better with no noise


 800 ISO

I have taken this picture at 800 ISO when enlarged you can start to see some noise in the darker areas
 1600 ISO
Even at 1600 this image is acceptable without too much noise, I thought that there would be a real difference going up to this ISO and I am always reluctant to using high  ISO settings but I think that as long as the picture does not contain to many dark areas to show up more noise that this is great to use and I will make more use of it


400 ISO
400 ISO produces a good noise free image
 100 ISO
Again when the 100 ISO is enlarged you can see camera shake on this hand held picture and I should really have used a tripod at this setting
 100 ISO
This really needed to be taken using a tripod at this setting as you can see camera shake when hand holding
800 ISO
At 800 ISO the noise is still hardly noticeable only in small detail areas like the brighter white window frame and the darker canopy
400 ISO
400 ISO produced an acceptable image with little noise

100 ISO
Again to use this setting I should have used a tripod


400 ISO
At 400 ISO there is hardly any noise


800 ISO
At 800 ISO there is quite a bit of noise in this image on the road where it is quite bright

Exercise 26 Measuring exposure

For the first part of this exercise I need to show photos that are lighter or darker than average and explain them.

Photo 1

This photo with its high key background is deliberately lighter than average to create a bright effect and make it stand out.


Photo 2


With its light background and light on to the side of the face this photo is lighter than it should be but with the models bright blue t-shirt his hat and the band across it standing out, and the darker square in the middle of his face  showing the strong fetchers of his eyes, nose and mouth for me make this picture work.


In this photo the background should have been darker but I like the effect of having it lighter.


I have deliberately wanted this photo darker than normal to try and create lots of depth, texture and mood to it.


Part 2

For the second part of this exercise I have to take a set of 5 different photos with a range of exposures here are my photos


In this first photo I prefer the second and third pictures
 I find this one to be too dark                                    

This is my favourite picture though darker than average I think that it shows lots of texture and movement through it, with an artistic feel

This is an average exposure I like this picture as it shows a good range of the colours with a lighter delicate feel

This picture goes lighter still creating an abstract confetti like image which I like


I find this fifth picture to be too light
Photo 2


Again I like the 3rd picture its correct exposure although I prefer the sky in the second and third pictures being darker but would not want to forsake the for ground to achieve this, although using a filter would have created a better photo


Photo 3


Although there is quite a difference between these 5 pictures it has taken me a
while to decide on my favourite and I think that they could all work depending
on what you where after using the picture for I am going with the 2nd pic but also
like the 4th

Photo 4


In this picture I prefer the darker exposure although there is not much difference in
the top 2
Photo 5


In the last picture I like the 1st which is the darkest picture as it really brings the darkness
of the mud out.